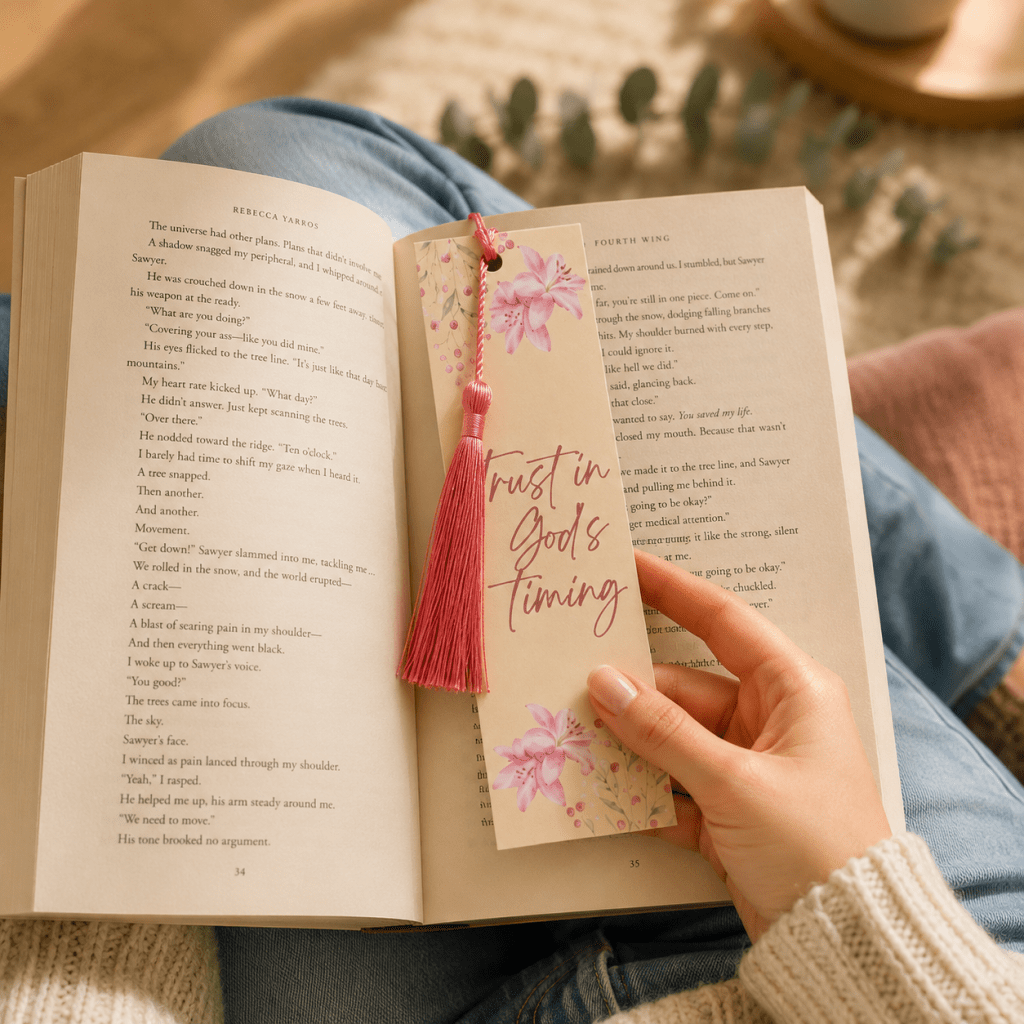
One of my favorite things about creating handmade products is turning a simple idea into something beautiful and meaningful. Today, I want to show you exactly how I created my “Trust in God’s Timing” bookmark from start to finish.
If you’ve ever wanted to make your own bookmarks, I hope this tutorial inspires you to create something unique!
Step 1: Designing the Bookmark
I create all of my bookmark designs using Canva Pro.
The first thing I do is search for “bookmark” in Canva. You’ll find thousands of templates available. I usually pick one that gives me a general layout, but I don’t keep the original design.
Instead, I remove everything and start from scratch.
For this bookmark, I chose a soft cream background with delicate pink floral elements and added the phrase:
“Trust in God’s Timing.”
One of the things I love about Canva Pro is how easy it is to customize everything. You can change the colors, fonts, illustrations, and create a design that truly reflects your own style.
Step 2: Preparing for Printing
Once the design is finished, I copy it into a new Letter-size Canva document.
Instead of printing only one bookmark at a time, I arrange four bookmarks on a single page, which saves paper and makes the printing process much more efficient.
After everything is aligned, I print as many pages as I need.
Step 3: Laminating
To make the bookmarks more durable, I laminate every sheet.
I use a Bonsai laminator, and I’ve been very happy with it. It’s simple to use and gives the bookmarks a smooth, professional finish.
I simply place each printed sheet inside a laminating pouch and run it through the machine.
I’ll be adding links to the laminator and the laminating pouches I use below this article soon.
Step 4: Cutting
After laminating, it’s time to cut each bookmark.
Many people use a paper guillotine for this step, and that’s definitely the fastest option.
I’m still testing different paper cutters to find my favorite one, so for now I carefully cut each bookmark by hand using a precision craft knife.
Although it takes a little longer, it gives me excellent control over the final result.
Step 5: Adding the Tassel
Once all the bookmarks are cut, I punch a small hole at the top and attach a tassel.
I love how this simple detail makes the bookmark look even more elegant and finished.
Step 6: Packaging
Finally, each bookmark is placed inside a clear protective sleeve before it’s ready for shipping.
The finished size of my bookmark is:
5.1 × 16.9 cm (2 × 6.65 inches).
If you plan to use the same protective sleeves that I use, you may want to make your bookmark about 0.5 cm wider so it fits a little more snugly. Of course, that’s completely up to you and depends on the look you’re going for.
Materials I Used
I’ll be updating this section with the products I use, including:
- Canva Pro
- Bonsai Laminator
- Laminating Pouches
- Clear Bookmark Sleeves
- Tassels
- Cardstock
- Craft Knife
- Hole Punch
(Links coming soon!)
Final Thoughts
Creating bookmarks has become one of my favorite handmade projects. They’re beautiful, practical, and make thoughtful gifts for readers, Bible study groups, teachers, friends, and family.
If you decide to make one yourself, I’d love to hear about it!
Leave a comment below and tell me:
- Are you planning to make your own bookmarks?
- What part of the process seems the easiest or the most challenging?
- What’s the most beautiful bookmark you’ve ever created?
Thank you so much for reading, and happy crafting!

 Viva Leve
Deixe um comentário